It’s all about projects. Just about everything I do in photography is a project. I have about a dozen projects in motion at any one time. I am working on at least four books. I am redoing my RaberEYES website using Squarespace. I have an ongoing project of my Rust images, Pyramiden, Icebergs, Antarctica trips, Greenland trips, along with my adventures to Svalbard. Typically, I do a little bit of work on all of these during the course of a month.
I am also planning workshops, private consulting, and private workshops, and I am working on the courses I teach at the Indy Art Center. I stay pretty busy.
As you may know if you have been following this site, I am very big into making prints. In my home, I have 3 photo printers, and at the studio, I have five printers, 2 Canons, and 3 Epsons (P900, P5370 and a 9570). I teach fine art printing as well as hold five multi-day fine art printing workshops a year.
The Video (10:24)
Please enjoy . . .
My Legacy
As we age, we often consider what we will leave behind when we pass away. I have a number of photographer friends who have passed, and they left their photography collection in a shambles for their families to figure out. I am not doing that.
PhotoPXL, Rockhopper Workshops, and RaberEYES all have a succession plan. It is defined in my will. The equipment presently at the Art Center will be willed to the Art Center. We are in discussions presently if my photo collection should also be turned over to them.
And, that brings me to my photography collection. I have fifty-plus years of negatives, prints, and digital files. My kids have no interest in them. My wife does, but she is also at a point in her life where she doesn’t need the burden. Thus, I have made plans and will be refining those plans.
It did get me thinking, though. Over the last twenty-plus years, I have been fortunate enough to travel to many different places in the world. I have thousands of images made from both polar regions and every place in between, many of which are on hard drives.
I realized that I needed to use my passion for printing to create my legacy of images. Thus, I decided to make a print every day this year.
I began to go through all my images. I made the choice to revisit every place I have visited and every workshop I have given, find my best images, and start to make prints. I so far have a folder with 1400 plus images in it that are candidates. I am also adding master images to this folder daily as I revisit images. I am finding new images I never considered before. I am finding images with bad skies that I can use sky replacement on. I have found images of cool locations but with too many people in the photos, and I have images where wires stretch across the image frame.
There are now tools in Photoshop where I can remove images, unwanted people, and signage from the skies. I can take fuzzy images and make them sharp. I can improve color and adjust images in ways that weren’t possible a few years ago. I will do a video and article on using these tools in the future. I have some great examples. There is even a new AI feature that removes reflections from windows. What a glorious time to be a photographer.
How I Am Doing This
As I mentioned, the first step is to find image candidates and move them to the master folder. This folder contains around 1400 images, and more are added daily. I then create a folder for each month. From the larger folder, I drag a photo for every day of the month into the monthly folder. The prints are shown larger at the end of this article.

At this point, I opened these images in Photoshop and reevaluated them. I make adjustments using some of the new tools available. I sometimes go all the way back to the original and start over again. I completely start over. I add masks, rework global adjustments, I even use the new adaptive profiles to get a better start on the images. Then I export to Photoshop and do more work. While in Photoshop, I then took the image using the Topaz Photo AI plug-in and took the images into Topaz PhotoAI.
PhotoAI has become a new part of my workflow. This program’s capabilities for sharpening, lighting, resizing, and more are miraculous.

Once the image is finished, it is ready for printing.
Printing the Images

I am a firm believer and long-time user of ImagePrint software by Colorbyte Software. This program is really amazing in so many ways. I lay this image out in the software and output it to my Epson P900 printer. I do all of this in my home. I am one of those lucky guys that truly has a man cave where all my stuff is located. See THIS ARTICLE for a tour of my Man Cave.
I choose Red River Palo Duro SoftGloss Rag as the paper I will use throughout this project. The paper has a great weight and texture to it, and images just pop on this paper surface.

I get first-run quality prints using this system. The images are stored in a 16×20 box from Archival Methods. I’ll add more as needed.
I choose the 16×20 size instead of the 17×22 size as I wanted to use the size that I have always loved the most. Lucky for me, Red River Paper makes traditional print sizes.

Signing the Prints

I can’t stress enough how important it is to sign your prints. Without a signature, your prints aren’t worth anything. I use the LePen markers on my prints. I have boxes of the black and grey. You need to make a habit of signing all prints you make.

Some Final Words
This project takes time. I always surprise myself on how much longer things take to do than I thought. It’s important to do things right no matter what. If a print comes off the printer and doesn’t look quite right, then it needs to be done over. No compromises.
Each month I’ll add another video as well as an article so you can see the images I am using for each month.
I strongly suggest you consider a project like this. It can be done on 4×6 paper or maybe 8×10. It’s important that you do the project though and stick with it. At this point, I print about once a week. I am anxious to see how this project goes and share it with you.
January Prints
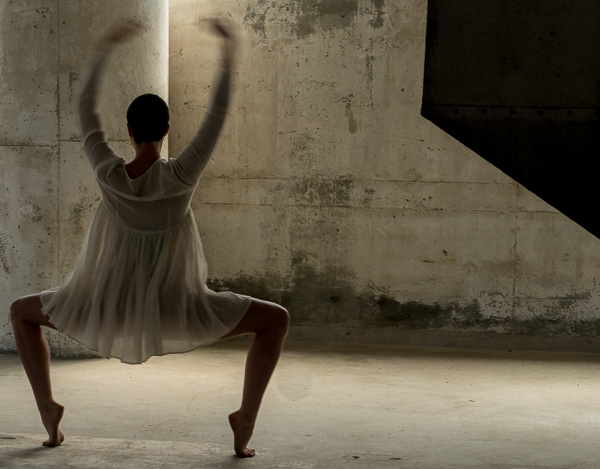
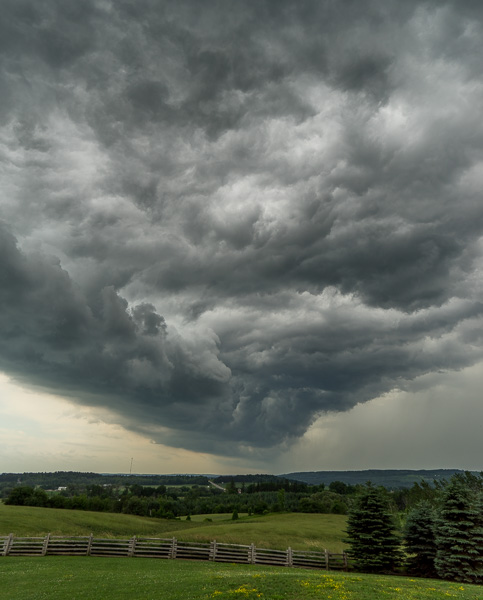
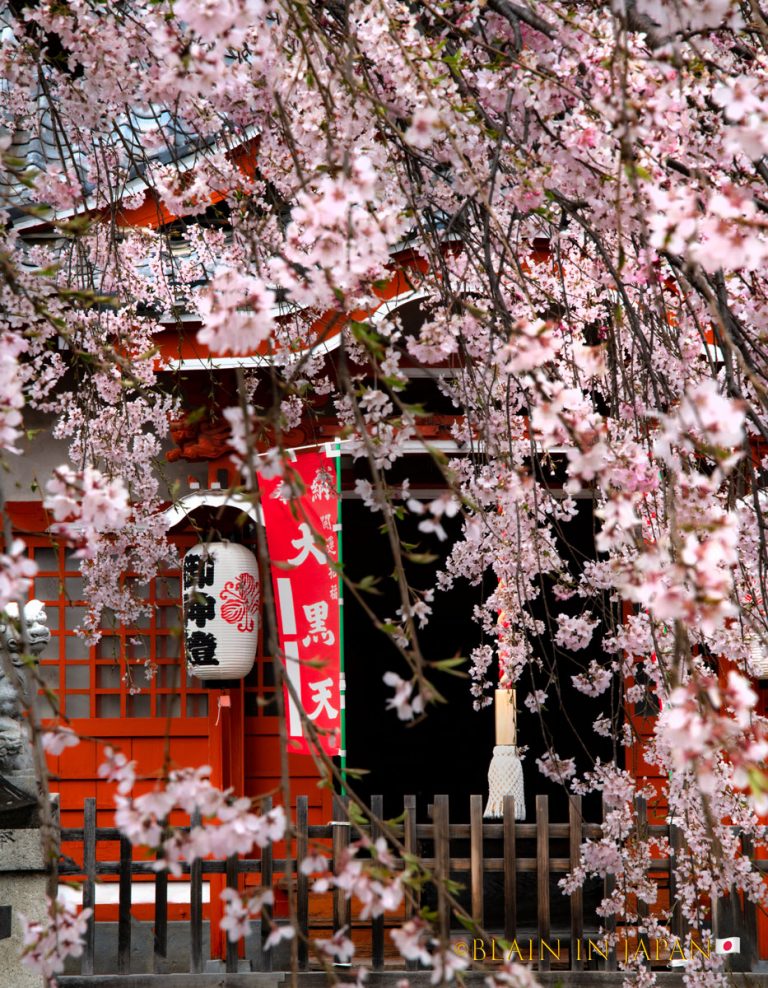
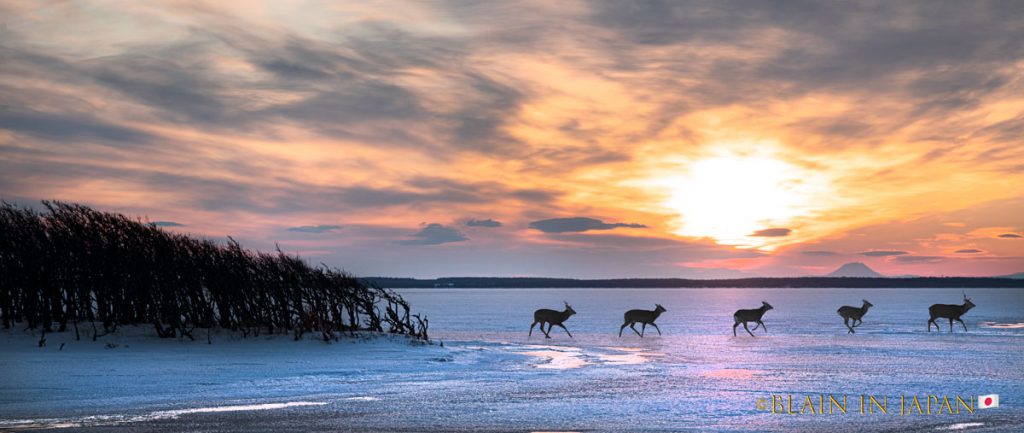
These are the images I chose for January. If you are Silver or Gold member click on any image to see it full width.


